Heat Treatment in Kitchen Knife Making

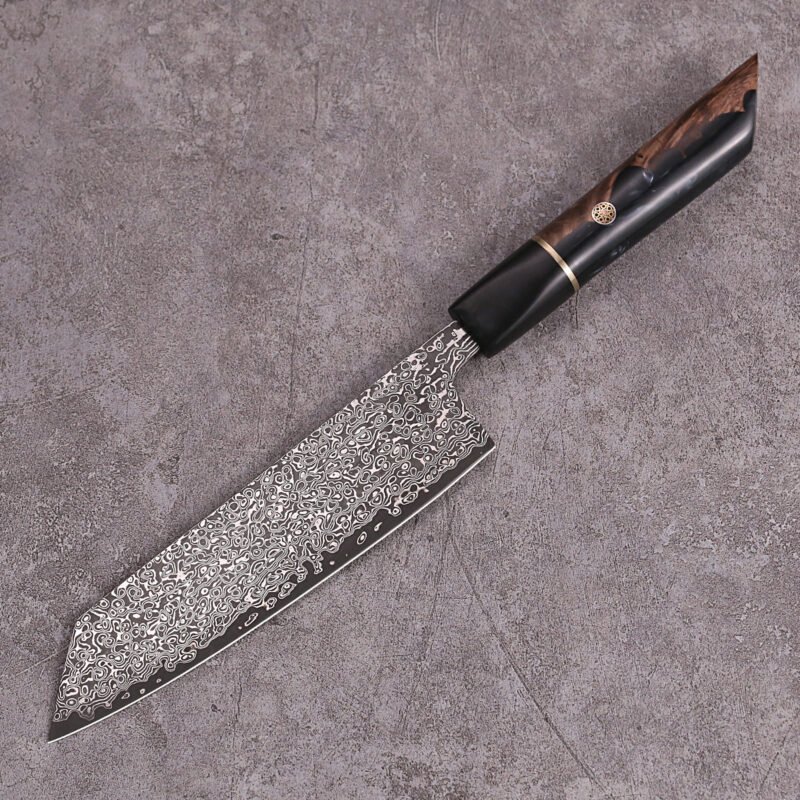
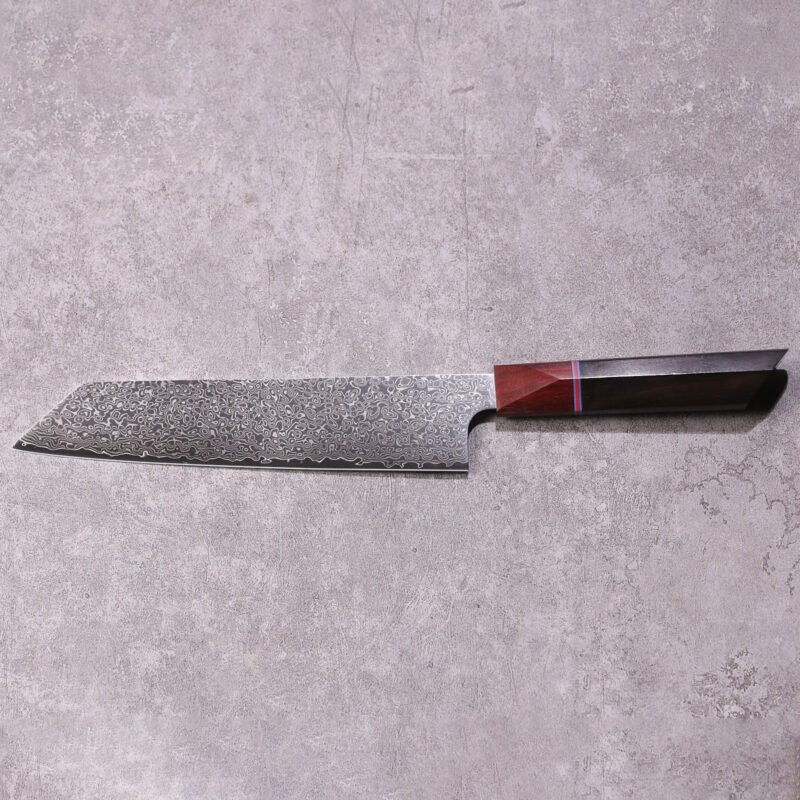
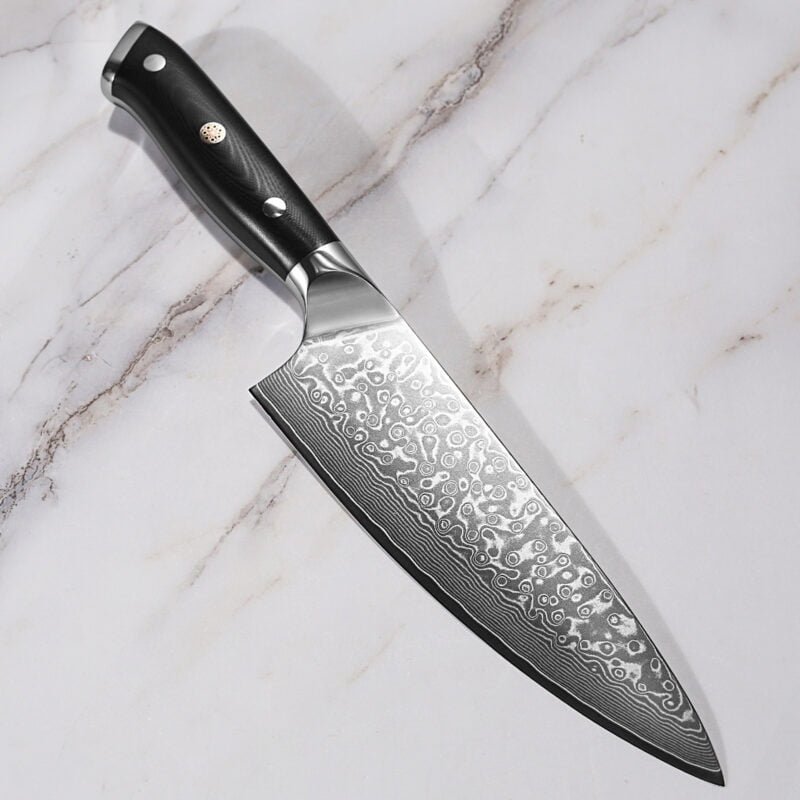
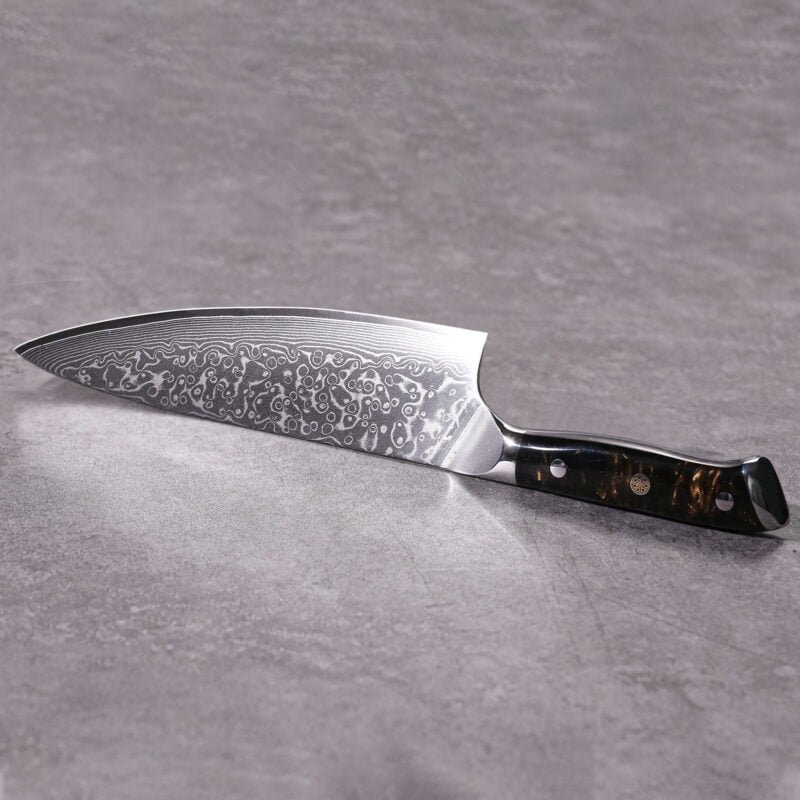
Kitchen knives play a crucial role in daily cooking. To produce a high-quality kitchen knife, the heat treatment process is indispensable. Heat treatment not only affects the sharpness and hardness of the knife but also its toughness, corrosion resistance, and wear resistance. This article will detail the four main steps of heat treatment: annealing, normalizing, quenching, and tempering, with a particular emphasis on the importance of quenching and tempering in kitchen knife making.
The Four Steps of Heat Treatment
- Annealing: Heating and slowly cooling the steel to homogenize its internal structure. This process relieves stress and improves toughness.
- Normalizing: Heating the steel above its critical temperature and then allowing it to air cool. This refines the grain structure and improves mechanical properties.
- Quenching: Heating the steel to a specific temperature and then rapidly cooling it to harden it.
- Tempering: Reheating the quenched steel to reduce brittleness and improve toughness.
Quenching: Enhancing Hardness and Wear Resistance
Quenching is a critical step for hardening knife steel. The process involves:
- Heating: The knife steel is heated to an appropriate temperature, typically between 1050-1090°C, depending on the specific steel.
- Rapid Cooling: The steel is rapidly cooled (using water, oil, or air) to harden it. During this process, the steel’s structure transforms from austenite to martensite, making the material harder and more wear-resistant.
While quenching significantly increases hardness and wear resistance, it also makes the steel more brittle. Therefore, tempering is necessary to address this issue.
Tempering: Balancing Hardness and Toughness
Tempering is performed to reduce the brittleness of quenched steel and improve its toughness. The tempering process involves:
- Heating: Reheating the material to a temperature between 175-350°C.
- Holding the Temperature: Maintaining this temperature for about 2 hours to achieve a hardness of 53-63 HRC, striking a good balance between edge retention, wear resistance, and toughness.
Considerations for Tempering
- Timing: Tempering should be done within a reasonable time after quenching, preferably within an hour, to mitigate brittleness caused by hardening.
- Cooling to Room Temperature: Ensure the blade cools to room temperature before starting tempering to avoid interrupting the martensitic transformation, which would weaken the hardening effect.
- Temperature Selection: The tempering temperature should be chosen based on the intended use of the knife. Higher temperatures make the material softer and tougher, while lower temperatures make it harder and more brittle.
Application Examples
- Everyday Kitchen Knives: Tempering temperature can be set between 200-250°C to ensure a balance between hardness and toughness, suitable for everyday cutting tasks.
- Professional Chef’s Knives: To achieve extreme sharpness and edge retention, tempering temperature can be set between 175-200°C for maximum hardness.
Temperature Control During Grinding: If the tempered blade exceeds the tempering temperature during grinding, its performance will be affected. Therefore, it is essential to control the temperature during grinding to avoid overheating.
Proper heat treatment is key to making high-quality kitchen knives. By employing scientific quenching and tempering processes, knives can achieve an optimal balance of hardness, toughness, and corrosion resistance to meet various user demands. Understanding and mastering these heat treatment techniques not only enhance the performance of the knives but also extend their lifespan, providing a better experience in daily cooking.

